When designing for a digital space, creating an intriguing and interesting experience is an important part that can often be overlooked. Inviting users to immerse themselves in your site requires more than just a flat page. Here at liquidfish, we love to push the boundaries of our creativity. A great way to accomplish this, is to create unique animation experiences. We like to do this with three.js.
Three.js is a 3D JavaScript library that utilizes WebGL and is an easy way to get into 3D web animations for beginners.
Today, we’re going to build a 3D ocean environment, including a sun and sky. Don’t worry if most of what we discuss doesn’t make much sense at first. It will eventually become easier with repetition. Three.js has concise documentation and there are plenty of other great resources here.
Every line of code that we write today can be found here:
I encourage you to code along with us as you explore this tutorial in codepen. Be sure to include the three.js library in your JavaScript and <div class="canvas"></div> in your HTML. With that out of the way, let's get started!
At the core of any three.js project, we need a camera, scene, and the renderer. An interesting way to visualize this is to think of it as if we are making a movie. We need something to film our movie (camera), we need somewhere to shoot it (scene), and a movie theatre to show it (renderer).
But first, let's import all our required JS modules we will need later.
- OrbitControls allow the camera to orbit around a target.
- Water and Sky are 3D shaders that three.js provides out of the box.
Next, we are going to define our main function where most of our logic will be placed. We'll call it the SceneManager().
I've broken down the components into functions that are easier to read and not a wild mess of code, which some three.js projects tend to become.
Like I said earlier, we need to set our scene, renderer, and camera.
A renderer is the main object in three.js, as it renders or draws the 3D space that we create based off of the scene and camera we give it.
To create a scene we simply call the scene object and return it inside of our buildScene function.
Next, we want to create our camera. The PerspectiveCamera class accepts 4 parameters (field of view, aspect ratio, near plane and far plane).
Next, we set our renderer. You may notice we pass in a canvas argument. This will be our html element where we want to place our 3D space inside.
Now that we have the core of any three.js project set up, we can now create and append objects to our scene. Let's start off by building the sky, using the sky shader we imported.
All we need to do is set the scalar and then append it to our scene with the add method.
Next, we are going to build our sun.
- PMREMGenerator builds a Prefiltered, Mipmapped Radiance Environment Map (PMREM) from a cubeMap environment texture
- Vector3() defines a 3D Vector and is an ordered triplet of numbers (labeled x, y, and z)
Next, we are going to build our ocean or water plane.
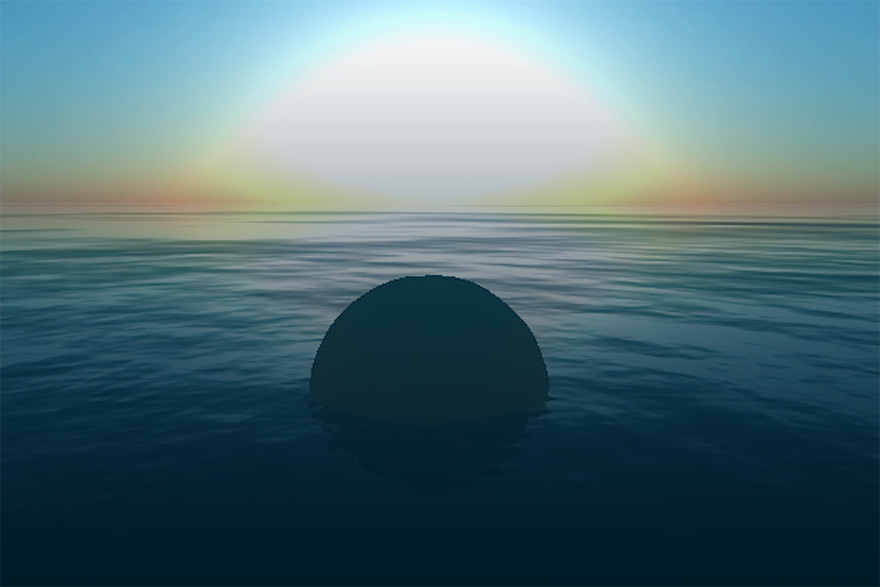
And just for fun, let’s create a simple sphere and set our orbit controls.
We'll define our function and call in our animate loop, which will redraw the scene every time the screen is refreshed (typically around 60 times per second).
To allow our scene to adjust to the browser window being resized, we set the following event listener and its callback to adjust accordingly.
Now at the very top of our SceneManager function, we can call all the functions we just made, select our canvas element we've defined in our HTML, and call our sceneManager function while passing in our element as an argument.
Last but not least, we’ll create an animate function and immediately call it to render and animate our scene. We’ll also call our update method from the SceneManager.
By now, you should see a nice, calm ocean with a glowing sunset… along with a random sphere floating up and down. Oh, the joys of three.js!
There you have it, we just built a 3D ocean in three.js. Although I didn’t explain all of the concepts in depth within this blog, I encourage you to keep learning about three.js through the useful links provided above and through the three.js documentation.
Happy coding!